The complete list of tools you need to create your first VR experience
By Antoine RibordyI looked around. It was like magic.
The sheer size was mind-boggling. How can you build something this big?
I put that thought aside and pushed forward. Oh, a spider! Let’s crush it!
After some long hours, I went to bed. An evening well spent.
A few years ago, I was addicted to World of Warcraft (WoW). The good old days. I had huge amounts of fun with it.
And here’s the thing with WoW and other MMORPGs (Massive Multiplayer Online Role-Playing Games): they’re huge. Just… massive!
When you explore them, you’re in awe. You start wondering how you can build such a world. And here’s the answer.
It takes several years and a big development team.
As a VR or game developer, taking WoW as your inspiration can be daunting. If your goal is to build a big world, looking up the long stairs leading you to launch your product is discouraging.
That’s why you need to set yourself short term achievable milestones. You need focus and a step-by-step plan to consistently move towards your milestones.
Of course, your long term goal is important. It’ll give you the motivation that drives you forward.
Now, on your journey, you’ll need tools.
But, where do you start? What VR tools do you need to build your first app? And in which order do you learn them?
Since you’re curious, I put together a list of VR tools. I ordered it by advancement levels so you know where to start and what you should focus on during your journey. It’s easy to get lost at the beginning when you’re facing an avalanche of softwares.
This list is based on my own path as I’m learning the craft. I haven’t used all these tools yet, in particular the ones in the advanced categories.
I’ll be updating this post as I learn more.
Your goal
First things first: what’s your goal?
Do you want to be an indie developer and build apps on your own, with the help of friends and maybe freelancers?
Or are you looking for a job in the VR industry? Maybe aiming at developing AAA titles?
When you’re getting started, my advice is to keep things simple. Start creating apps with Unity & Blender. Focus on the fundamentals and on building a compelling and interesting experience.
If you want to get a job in the industry or develop more advanced apps, then you’ll have to learn other tools.
Decide on your long term goals. Then, set your short term and mid term milestones. That way, you can put a learning plan together and ramp-up your VR tools knowledge in a coherent fashion.
Now that you’re clear on what you want, let’s get through the list.
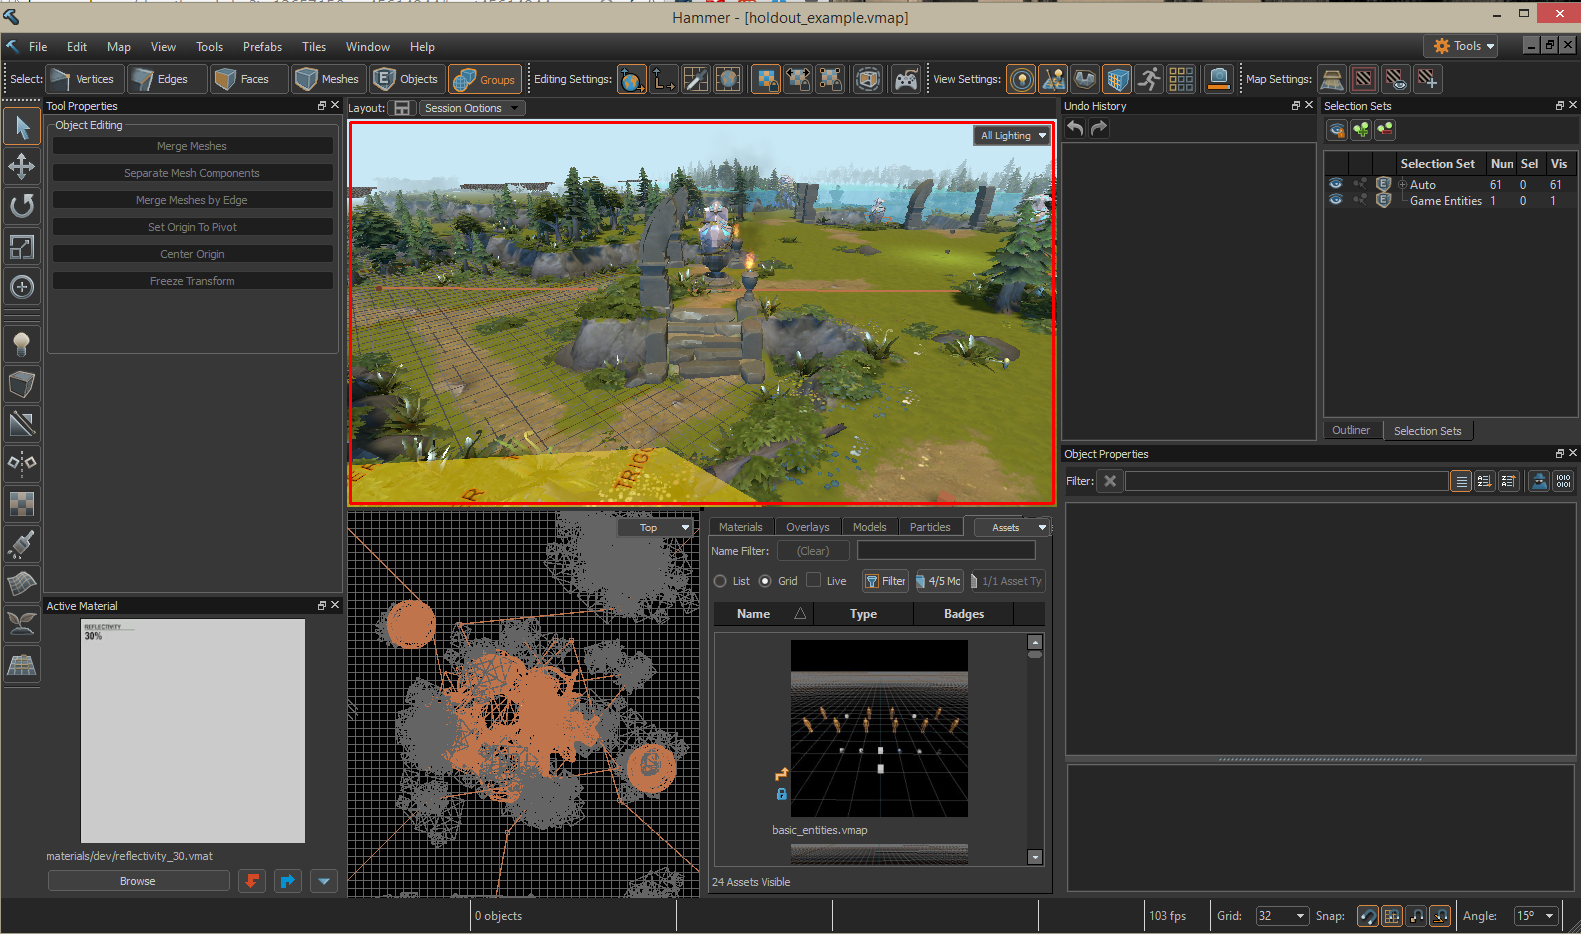
1. Game engines
Did you know you don’t need to code everything from scratch when you’re creating VR apps?
Have you ever wondered how the head and positional tracking worked in VR? Have you marveled at the amazing interactions and physics in a VR game?
If you’ve felt overwhelmed, there’s good news. A lot of what you’ve seen comes as standard in game engines. That means you don’t need to program all the physics, head tracking and controls. You just use and tweak what exists.
And this… makes your life as a designer a whole lot easier. In fact, you can create a basic world and interact with objects within it, in VR, in a couple of hours, as a complete beginner.
Maybe you’re wondering why I’m talking about game engines when the goal is to design VR applications? The reason is simple. Game engines give you all the tools you need to create 3D worlds and script all the interactions within it.
And the main game engines provide VR SDKs (Software Development Kit) as standard. So you can just create an app for your favorite VR system without worrying about coding head tracking and controls.
Excited to get started? Let’s dig in.
Beginner
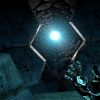
Unity
Unity is your best bet when you’re getting started. It takes a bit of work to get used to. But it’s simple enough that you can put together a basic world and scripts to handle behaviors and interactions quickly.
You can get SDKs for all the major VR headsets and peripherals. So you can build an app and run it straight away on a headset.
It also supports the main industry standard formats. You can import your 3D models and animations from modelling tools like Blender, Maya or 3DS Max.
It supports 3 different scripting languages, but you’ll be using C# for your VR apps.
And, here’s the best part: it’s free.
There’s plenty of video tutorials around to help you in your learning. And the Unity website will be your reference for the engine and scripting.
Also, there’s paid online training you can take. My recommendation is that you attend at least one paid course. The best courses I’ve found are on Coursera and Udemy.
If you want to see what courses I recommend, read section #7 HERE.
Intermediate
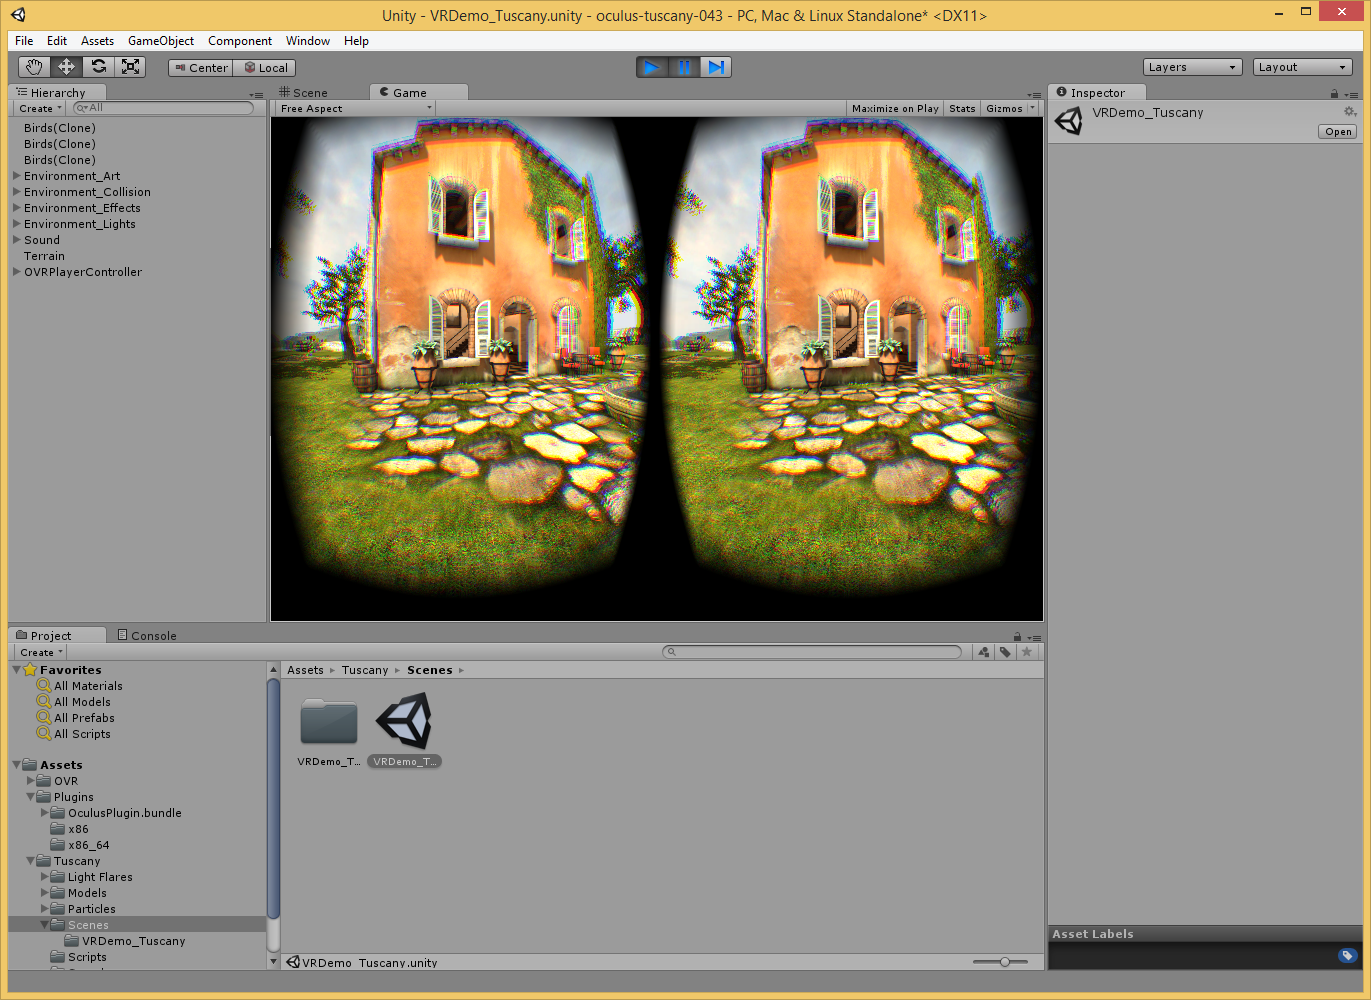
Unreal Engine
Unreal Engine is your second best bet when you’re starting. Like Unity, you can use it for free. It offers more advanced features like the Blueprints Visual Scripting. Compared to Unity, it might be a steeper learning curve to get into first.
So my recommendation is to move to Unreal when you’re already familiar with Unity. But if you prefer, you can try both engines and make up your mind.
To import 3D models into Unreal, you’ll be using the .fbx format. The scripting language is C++.
Like for Unity, you can find video tutorials for Unreal and Unreal’s website will be your reference for the tool. You can find paid online courses, as well, like this one, that I recommend.
The main SDKs for VR headsets are also available for Unreal.
Advanced
I haven’t tried the engines listed out here yet. But they’re worth considering once you’ve mastered both Unity and Unreal Engine.
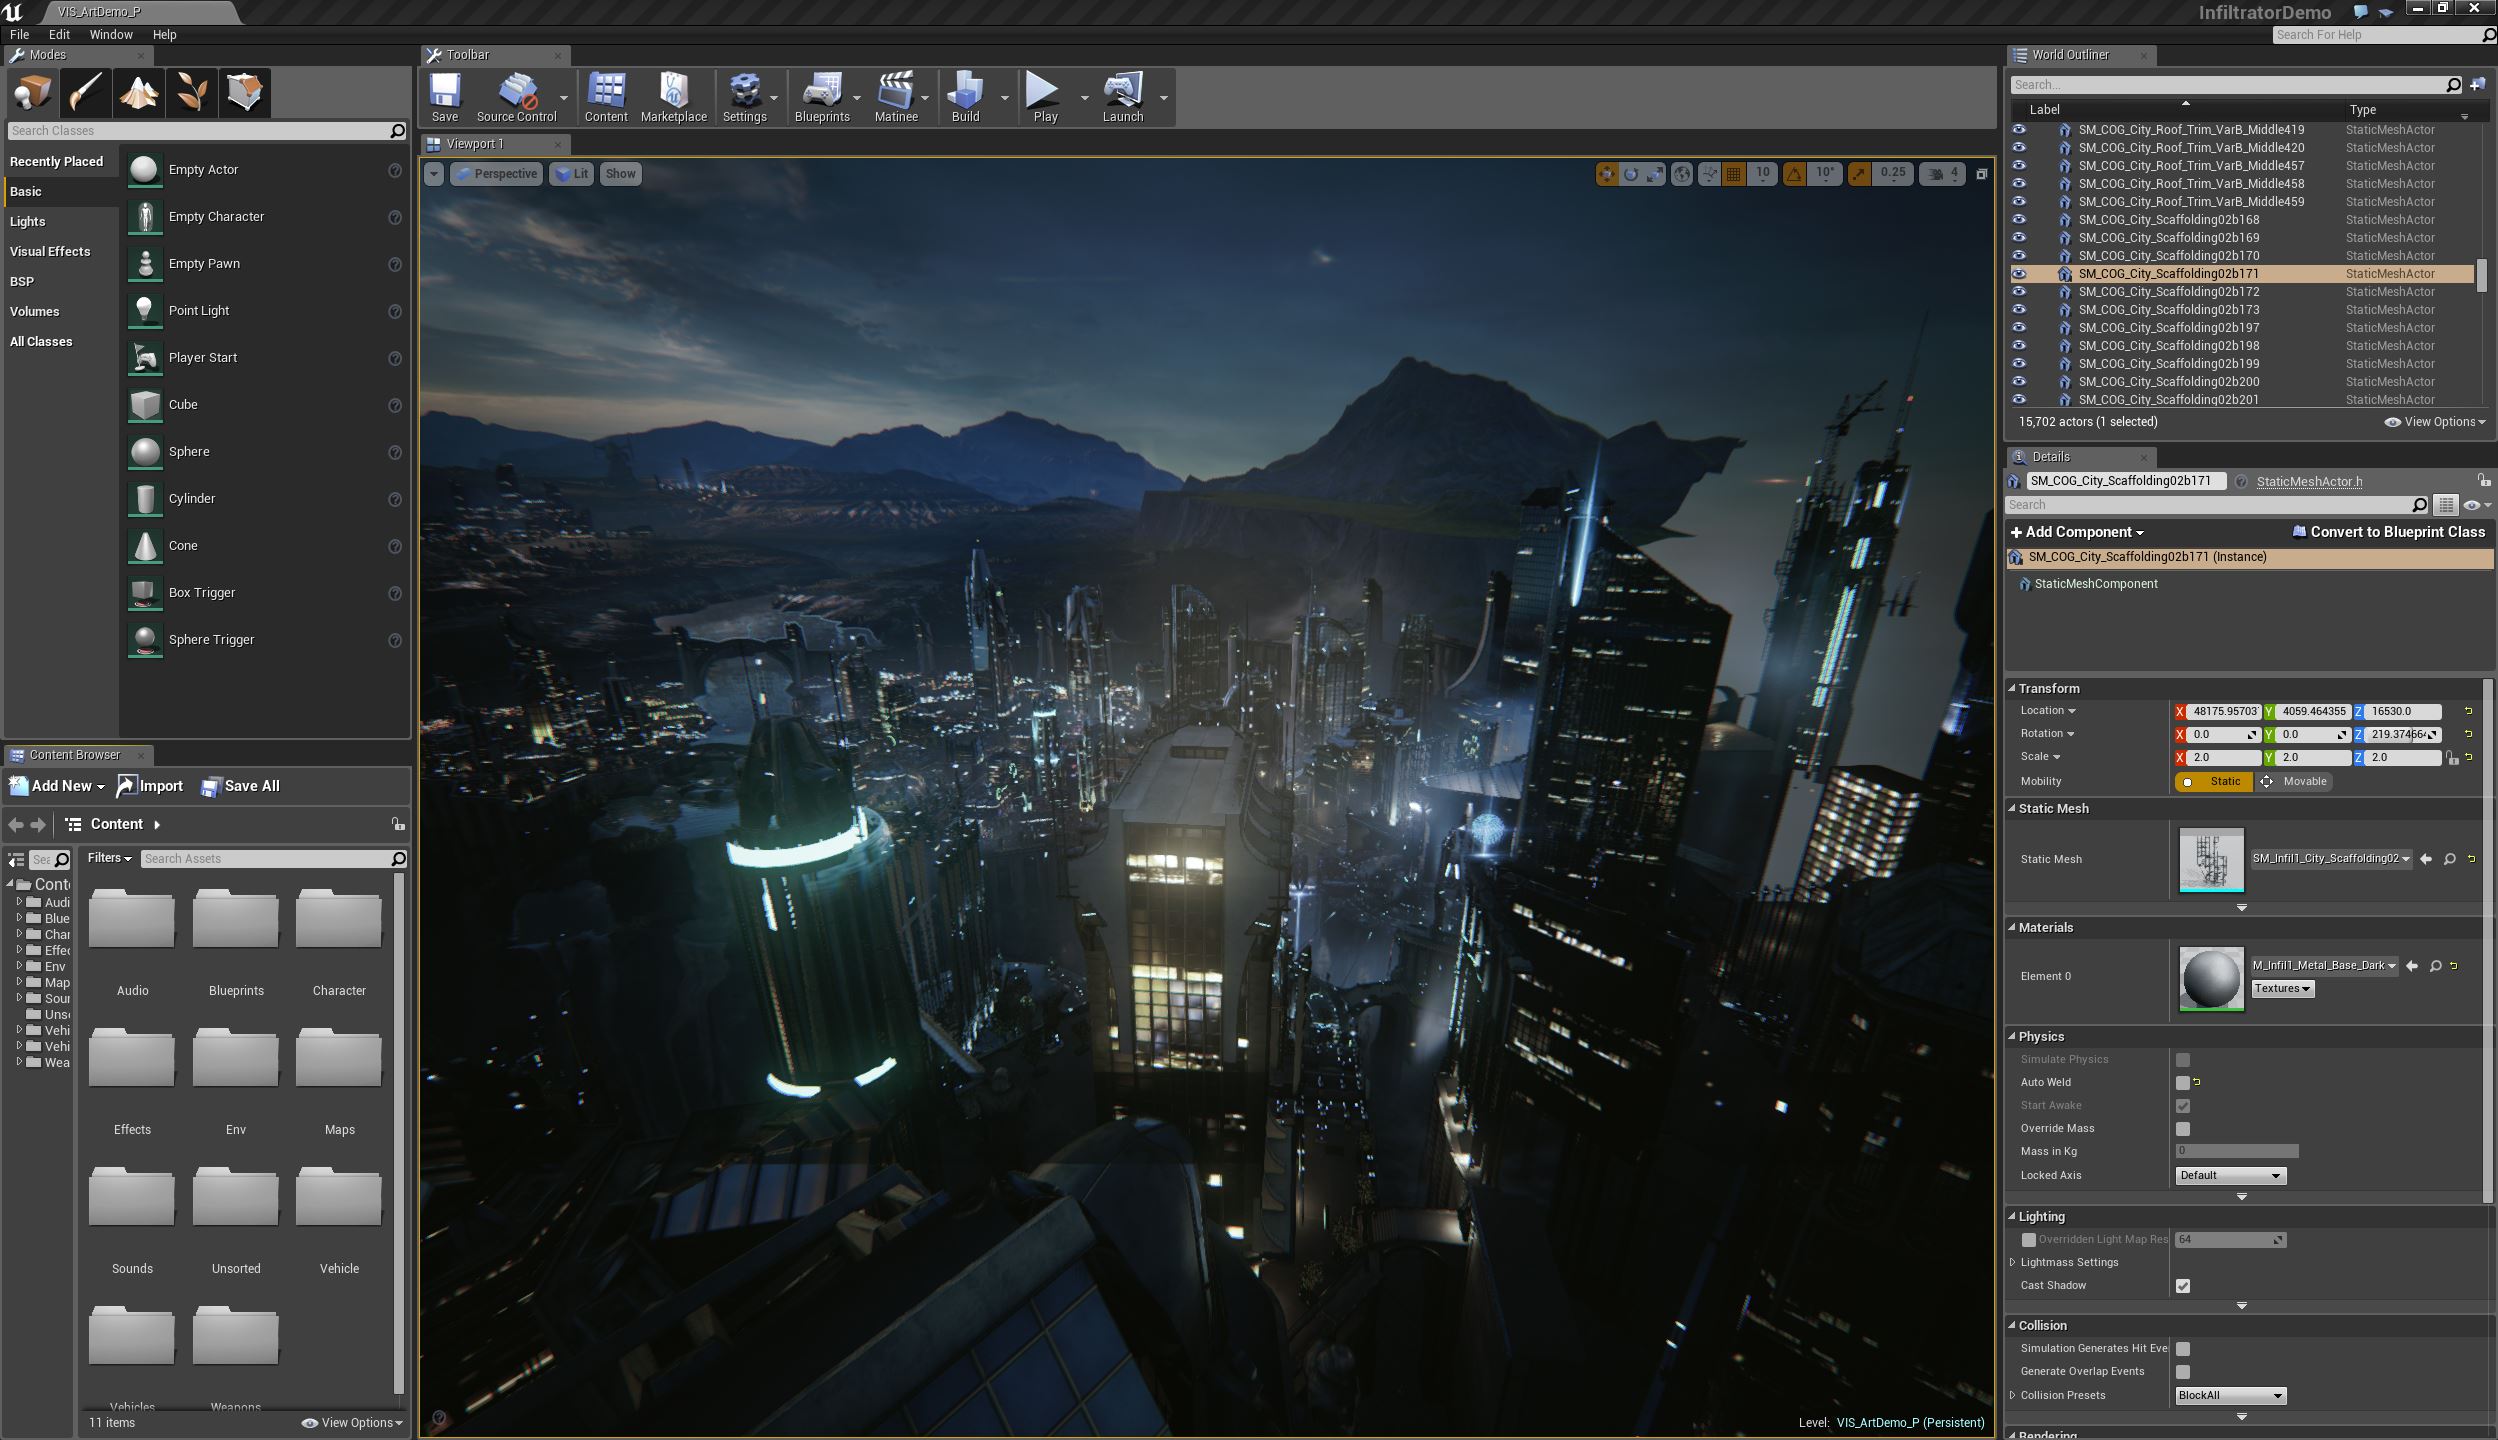
CryEngine
It’s the engine Crytek used to develop their famous Crysis series. A series that is still a reference in terms of graphics quality today.
If you’re looking to develop a high-end graphics experience, it’s worth looking into the CryEngine. Just keep in mind that high-end graphics in VR will limit the number of people who will be able to run your app. They’ll need a high-end graphics card to run it at a decent framerate.
In terms of price, Crytek have moved to a “Pay what you want” model for their engine. That means you can use the engine for free if you want. Of any money that you pay, up to 70% will go into a fund to support indie developers (you can choose how much goes into the platform itself vs indie developers).
CryEngine V support Oculus Rift, HTC Vive, Playstation VR and OSVR. So, it’s an engine of choice for your VR apps.
Source engine
It’s the engine that Valve used to develop Half-Life, Half-Life 2 & Counter-Strike, among others. The engine is free, but anything made with it has to be released on Steam by contract.
Valve have released a set of free VR tools for Source 2 called the Destinations Workshop Tools. And since Valve is behind the HTC Vive, it’s an engine worth considering for VR apps.
2. 3D modelling
When you’re designing a VR world, you need 3D models of your environment and objects.
And here’s the thing: you can get lots of models online, for free or for a fee.
But sooner or later, you’ll need objects that are specific to your creation. So, how do you get this models?
One option is to hire a freelance 3D artist that will create these models for you. Or you can associate yourself with one, in your venture. These are great solutions.
But what if you want to quickly create a model? What if you don’t want to go through the whole process of finding a freelancer, documenting what you want, managing them, and so on?
Then, you can learn how to use 3D modelling tools. And there’s plenty of offers around.
Don’t panic, we’ll cover them in order so you can learn mastery one step at a time.
Beginner
Blender
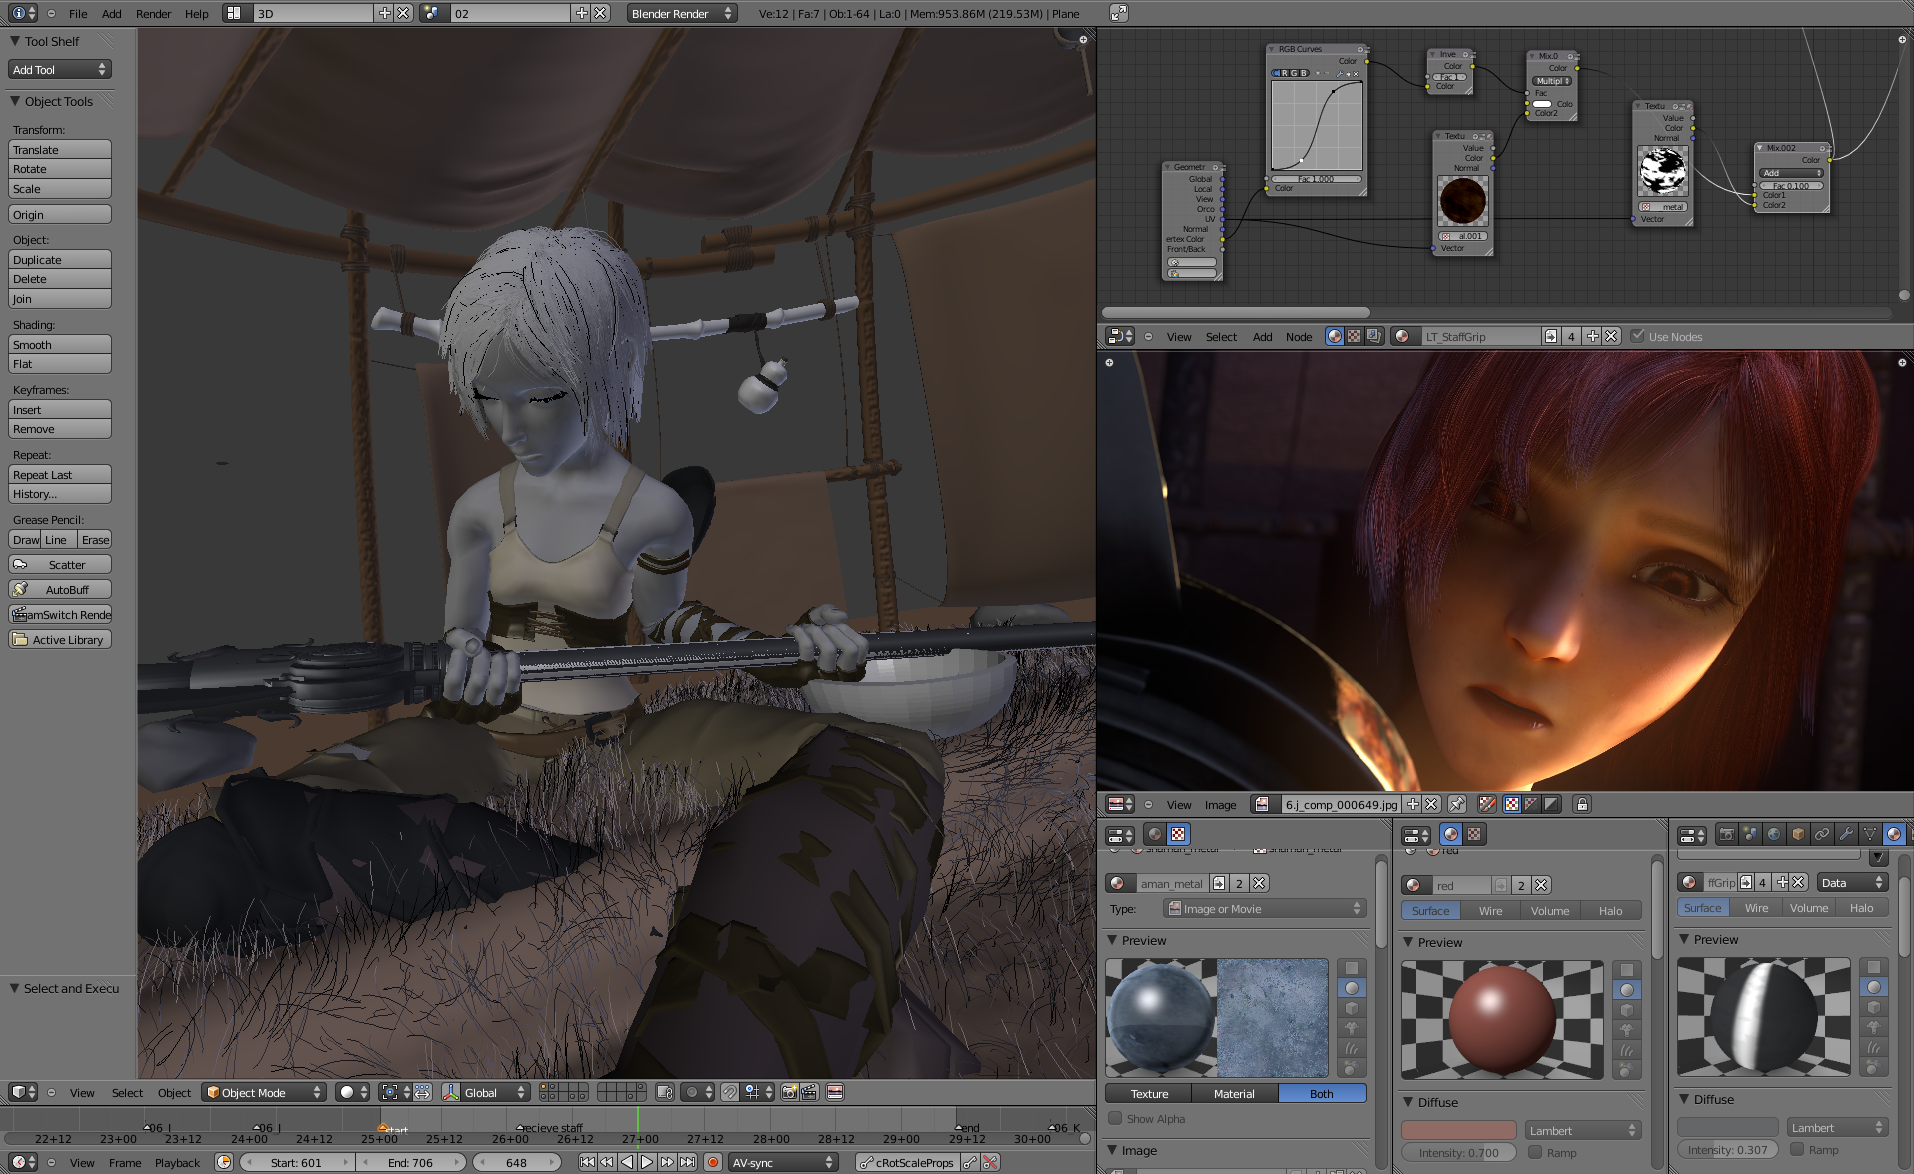
Blender is a free 3D modelling tool. It’s an ideal way to get started in VR development and create 3D models. You can get the hang of the tool by watching tutorials online or taking a course.
Other 3D modelling tool offer more advanced features for modelling. But when you’ve never used a 3D modelling tool, you can do without them. Also, other tools are not free per se (we’ll discuss some options below).
Blender is advanced enough for you to create the objects your need for your first VR apps. This is the tool I use the most today.
If you’ve used 3DS Max or Maya in the past, it might take you a while to get to grips with Blender, as the tool’s philosophy is different. But if you’re new to 3D modelling, like me, that won’t be an issue. And you won’t get lost in the tons of menus you get in other 3D modelling apps.
I recommend you watch tutorials or join an online course that will guide you on the way to mastering the tool. Blender is my tool of choice for 3D modelling.
Intermediate
I’ve put two options in the intermediate section, two products from Autodesk. Which one you choose to master is up to you and depends on your goals.
I suggest you try both, do some research on their features and choose the tool that works best for you. And you can very well learn both, one after the other, especially if you’re looking for a job in 3D modelling.
Maya
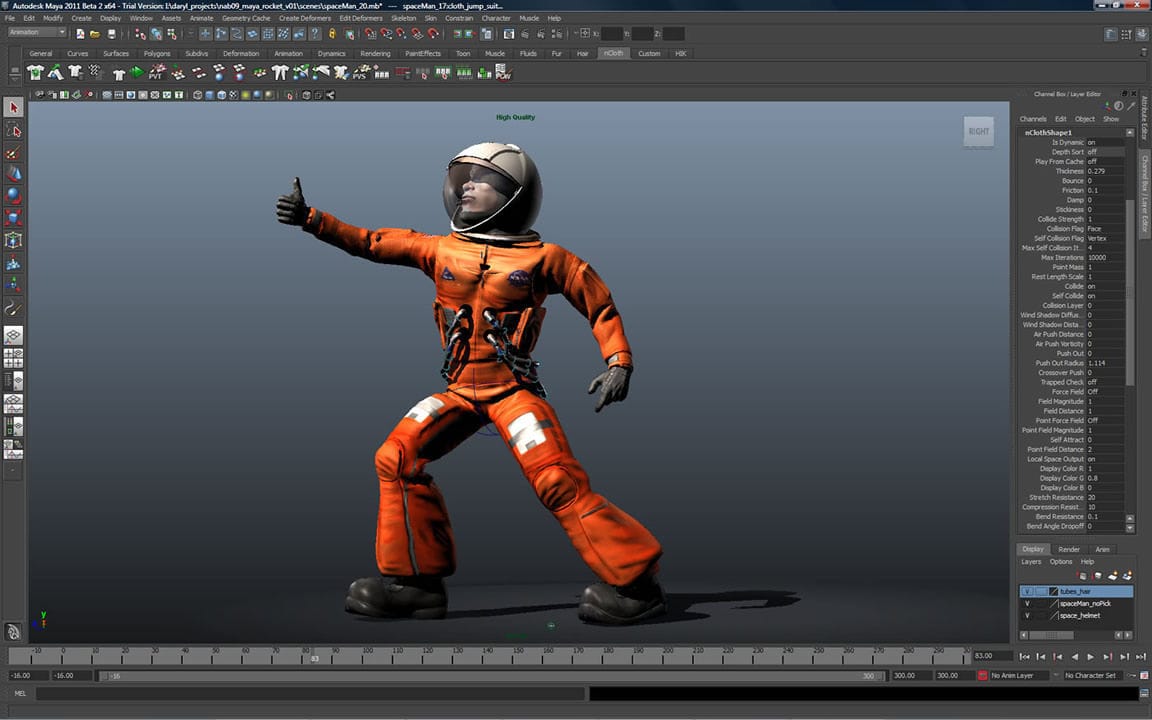
Maya is one of the industry standards for 3D modelling. It’s been around for 18 years now and is part of the Autodesk suite of softwares, that includes 3DS Max and Mudbox.
I’ve recommended Blender as a first step, since it’s free to use and has less features that make it quicker to master. It’s a better choice if you’re an indie developer. And once you’ve got the hang of Blender, moving to Maya and other 3D modelling tools will be a lot easier.
But if you want to get a job in the industry as a 3D modeller, Maya is a better choice, due to its more widespread use.
Maya gives you finer controls than Blender. But you’ll have to look around to find the right box to tick in an avalanche of menus. As a VR creator, Maya is a good choice for more advanced apps and once you have the budget for the license.
Also, it’s got some great controls for creating animations and it’s probably the best tool of the lot for this purpose.
And here’s the best part. Remember I mentioned pricing options earlier? Here’s how it goes.
You can use Maya for free for 3 years as a student. But be aware that if you want to sell apps later on, you’ll need a full license of Maya. You can’t use the student version.
3DS Max
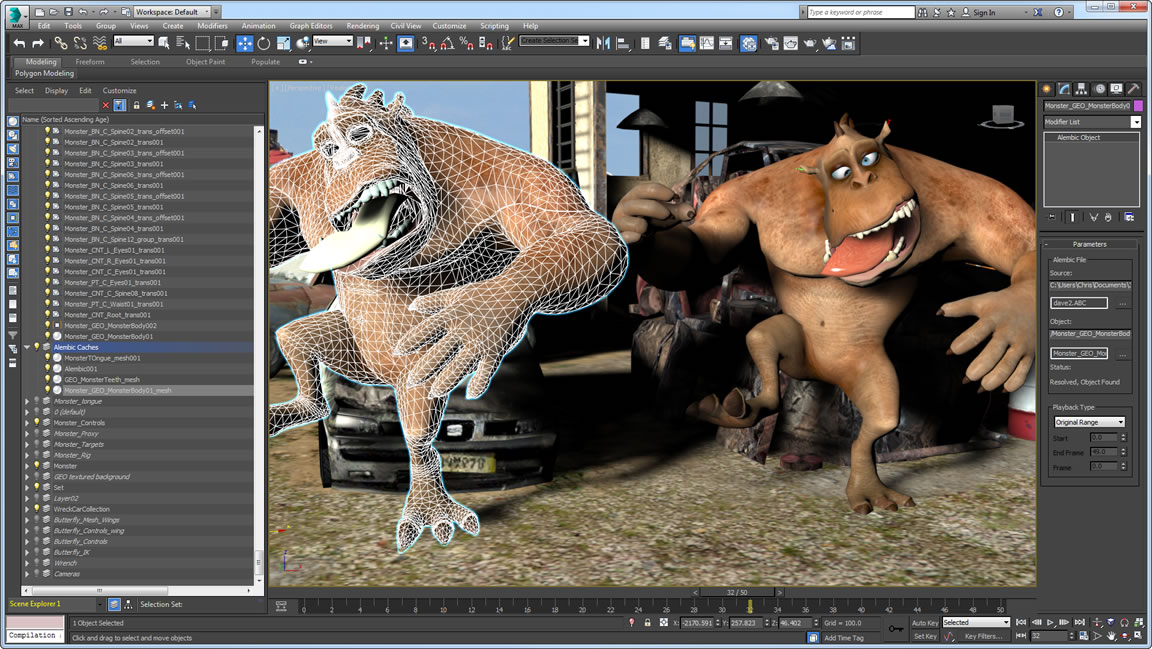
Like Maya, Max offers a lot of control over what you’re doing, with many menus to tweak your settings.
Compared to its brother, Max is more intuitive to get the hang of. It might be a better choice to learn just after Blender if you want a more progressive learning curve.
But again, if you’re looking for a job in a domain where most people use Maya, then you should focus on learning that tool. If Max is more popular, then learn it first.
As it’s also an industry reference, it doesn’t hurt to learn it longer term. For now, make sure you stay focused in your learning schedule. There’s plenty of work and fun ahead already.
Like for Maya, you can get a 3-year license for free. But you’ll have to pay for a full license if you want to sell apps using models made with 3DS Max.
Advanced
There are a lot of 3D modelling tools around. It’s a domain where making up your mind and choosing a tool can be difficult. I’m listing here some of the most popular ones used in the industry.
Once you’ve mastered both Blender and Maya or Blender and 3DS Max, you’ll be well on your way in creating great 3D models. To create VR apps, that’s plenty enough.
But if you want to become more of a 3D artist and get a job in that domain, learning some of the tools below is a bonus.
Cinema 4D
It’s an alternative to Maya and Max. Cinema 4D isn’t as widespread as these tools, but it’s become quite popular in recent years.
The main advantage of C4D is that you can go through the whole flow of creating 3D models quicker.
On the downside, its less widespread use means the community is smaller and it gets less recognition in the industry.
My recommendation is for you to give it a try and see if it’s a tool that’s worth learning for you. It’ll all depend on your long terms goals.
I haven’t tried Cinema 4D myself, so can’t recommend it one way or another.
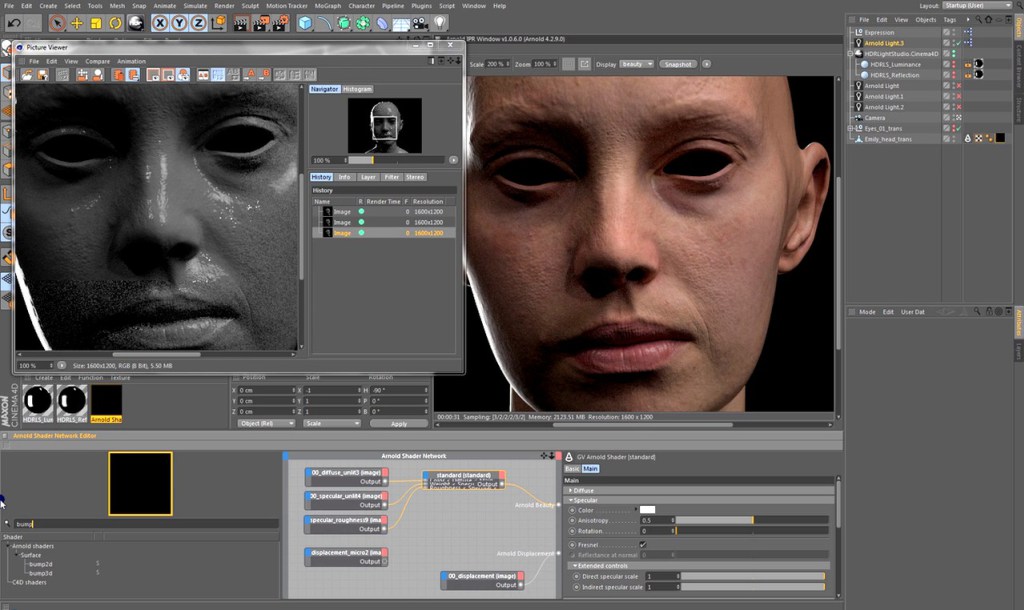
Mudbox
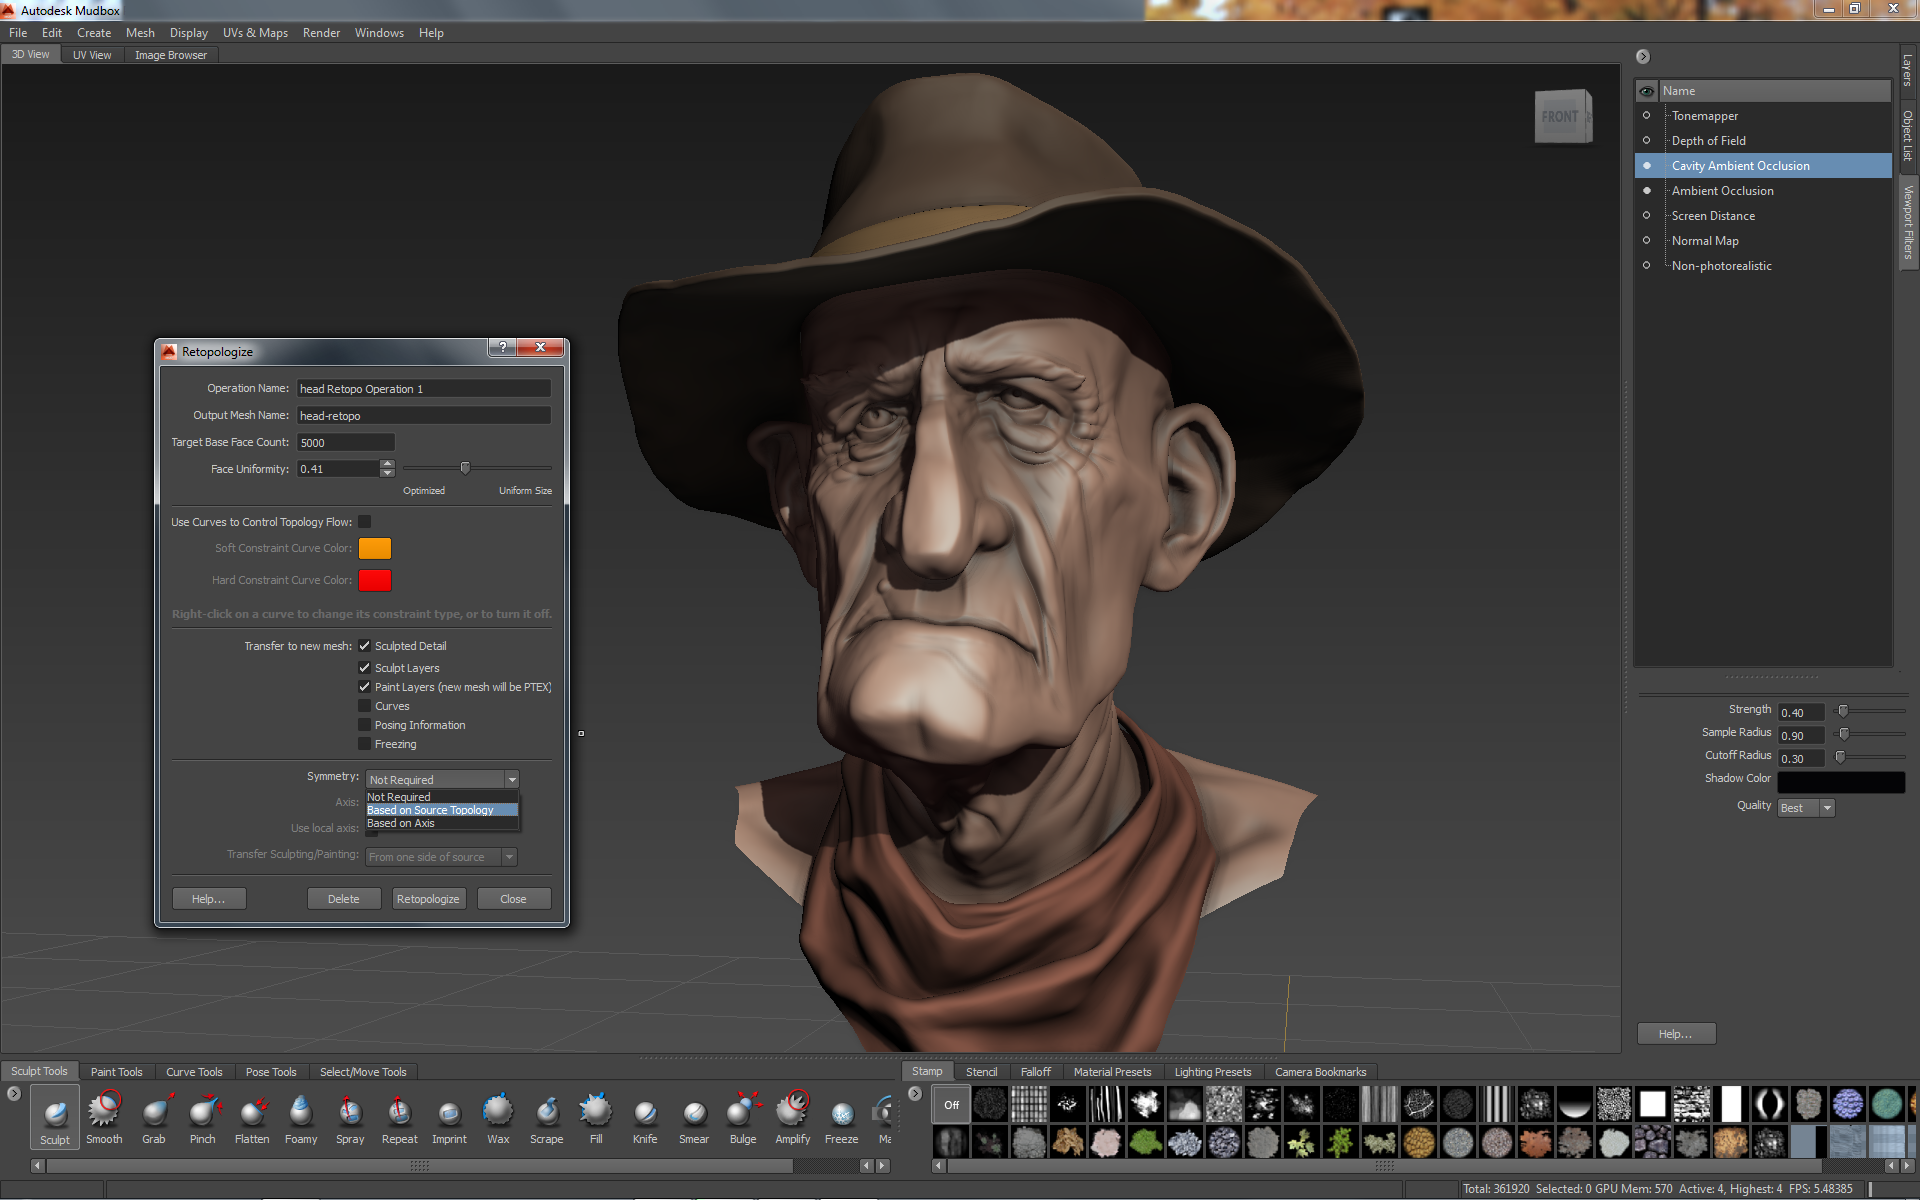
Mudbox (and ZBrush) are modelling tools using a different approach to classic ones. Here’s how it works.
You start with a primitive model (of a face or animal for example) and you modify its shape in the same way you mold clay. You can pinch surfaces, create bumps or trenches and precisely mold your model until you get the shape you want.
If you’re artistic, it might be a great way for you to create models, a more intuitive way. You can then also apply textures on your model with brushes. In a way, you’ll be painting your model.
Note that traditional modelling tools also offer sculpting options in their arsenal. And that should enough for you, especially when you’re getting started.
But if you want to take it further and become an advanced 3D artist, you might want to give Mudbox a shot.
ZBrush
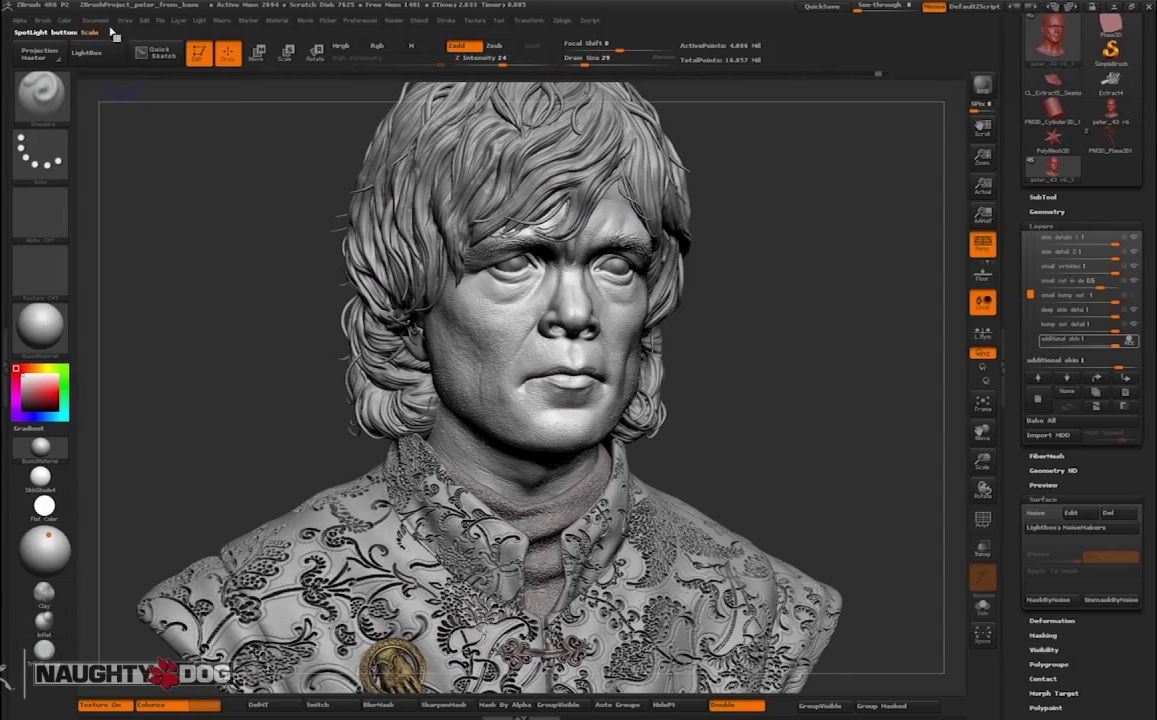
It’s an alternative solution to Mudbox. It offers a wider range of base models to start sculpting on than Mudbox. Also, it gives you more brushes to work with. But it’s not as good as Mudbox for texture painting and texture baking (to create normal maps and displacement maps).
Both Mudbox and Zbrush are fine tools. Which one you’ll use depends mostly on the one you’ll feel most comfortable with and also on what you need to create.
3. 2D design and painting
3D is brilliant. This is what makes a VR experience so compelling. You need convincing 3D models so you believe what you see and interact with.
But to make a 3D model look real, you need textures and 2D art.
Beginner
Gimp
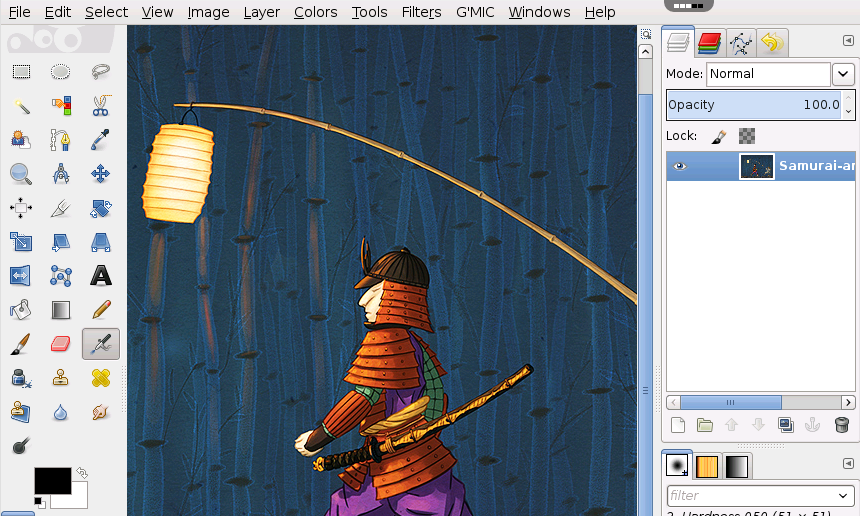
Have you already used Adobe Photoshop or Illustrator? Then, you won’t have much trouble adopting Gimp. Gimp is a free alternative to Photoshop.
It’s not as advanced as Adobe’s product, but it’s plenty enough to do some editing to get the textures and graphic art you need for your first apps.
If you haven’t used any 2D design tool before, then it might take you a little while to get to grips with Gimp. If that’s the case, again, I recommend you watch tutorials or take and online course. You’ll save a lot of time that way instead of trying to figure out everything yourself.
Intermediate
Photoshop
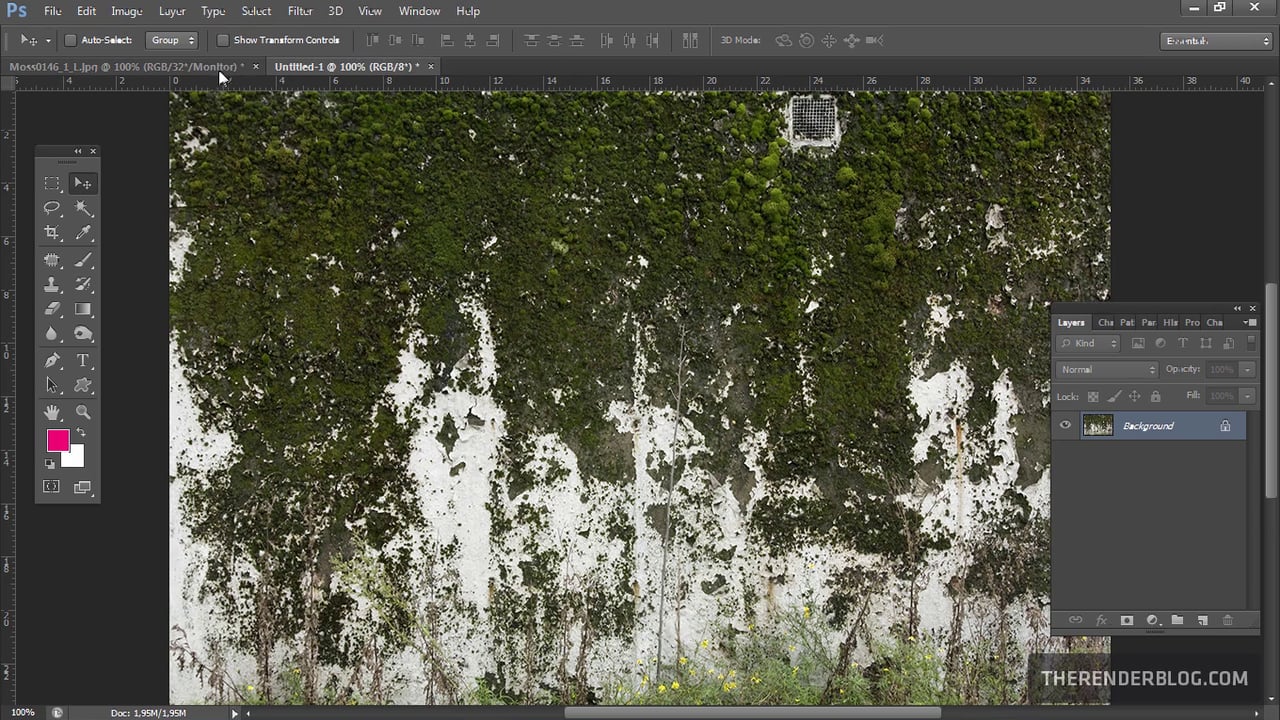
Of course, you’ve heard of Photoshop. It’s the industry standard for 2D image editing. It’s an effective and very complete software for photo editing and design creation.
The main downside of Photoshop and why I recommend for you to focus on Gimp first is its price.
As a student, you can access the whole Adobe Creative Cloud for $20 a month. The package includes Photoshop, Illustrator, InDesign and 20 more apps. And if you only want Photoshop, you can get it for $12/month when you pay monthly.
Depending on your goals, you might want to consider moving from Gimp to Photoshop. If the latter allows you to be more effective and you can justify the expense, go for it. And if you want a job in the industry, you’ll have to learn how to use Photoshop.
4. Audio
Beginner
Audacity
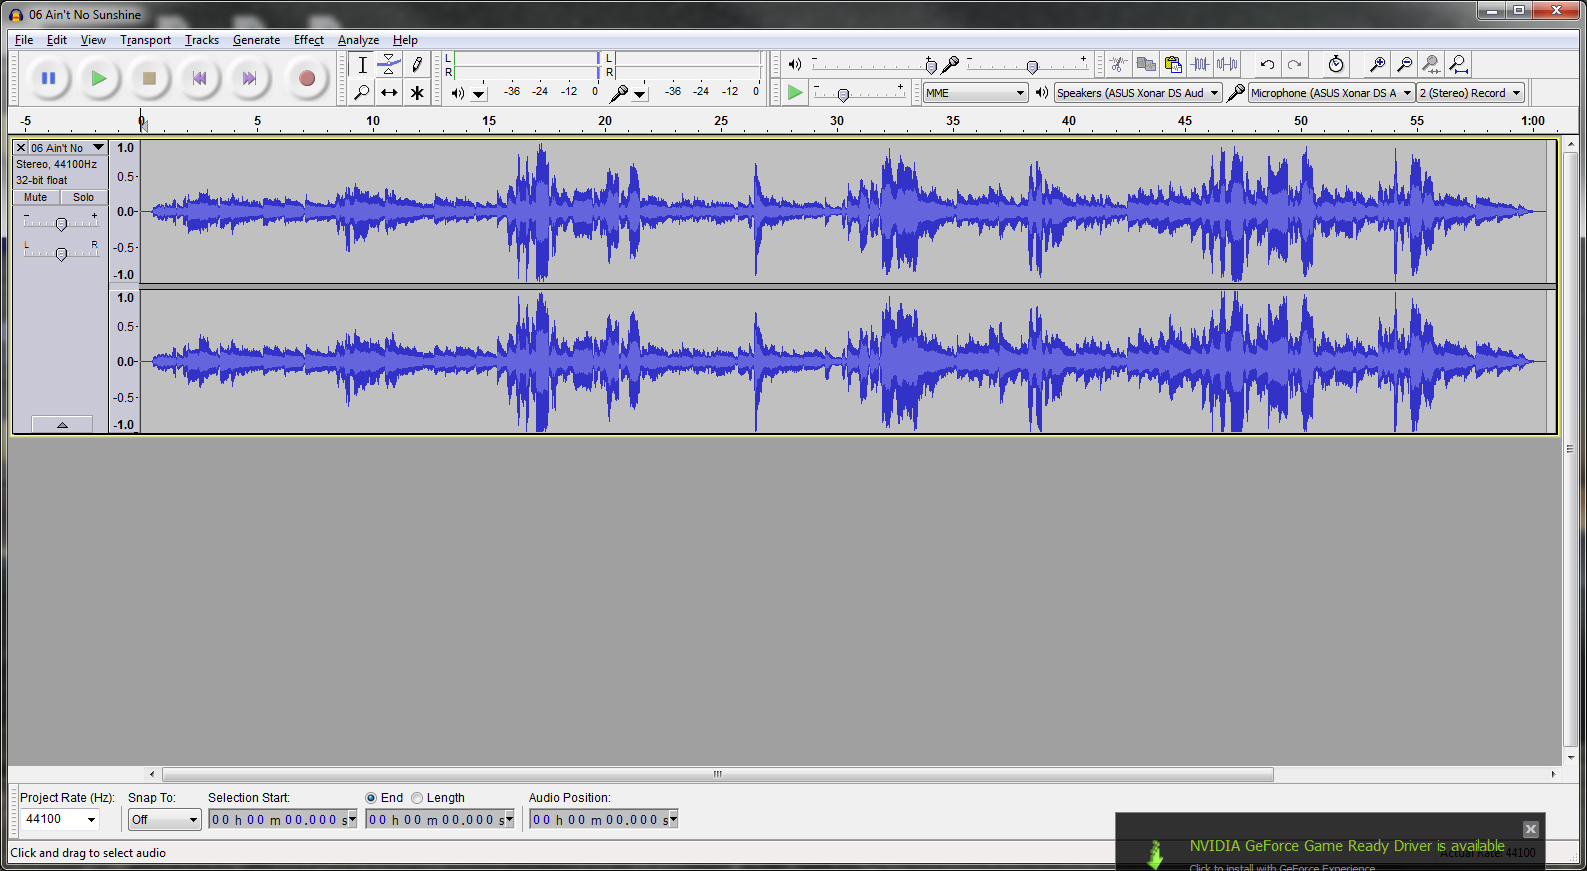
You love free software? Here’s another one.
Audacity is an audio processing solution. You can use it to record, then clean up or alter that recording. It’s easy to use and you can find plenty of tutorials online to help you learn quickly.
Audio is key to a VR world, but I don’t recommend that you spend too much time on learning tools. You can get plenty of sounds and music online, for free or for a small fee.
If you want to record your own sounds and they’re easy to create, go ahead. Then, you won’t need to spend too much time re-processing them in Audacity.
And when you need some advanced audio, my advice is to hire a freelancer to do it for you. It’s not worth investing a lot of your time mastering audio tools. Unless one of your goals is to become an expert in audio.
I won’t list other audio tools here as it’s not an area I’ve dug in much. Audacity is plenty enough for me and most people.
5. Animation
If you create animated films, animation is part of the whole 3D modelling process.
So it makes sense for 3D modelling tools to offer it as part of their package. When you’re designing VR apps or games, you’ll want to import your animations into the game engine.
There are of course other solutions for animation, like motion capture. But here I will stick to the traditional animation in 3D tools, called keyframe animation.
Each tool handles it a bit differently. But here’s the basic principle of keyframe animation.
You set a number of frames or seconds you want your animation to last. Then you create your animation by setting start, intermediate and end points to transition between. They are your keyframes.
For example you might set an animation where you want a ball to move from A to B, then to C. You set your first key at position A at time 0, B at 1 second and C at 2 seconds.
The engine will then calculate all the intermediate steps between keys to create your 2 seconds animation.
I haven’t spent a lot of time creating animations yet. For this section, I’ll focus on Unity and Blender. When I’ve spent more time creating animations with other tools, I’ll update the post.
Beginner
Unity
In Unity, you basically work with seconds. Then, you can change your framerate to make the animation run slower or faster.
It’s a simple interface that works well. Its biggest advantage is that you can create and use your animations all in one environment. But in terms of control, it’s not the best solution for advanced animations.
Still, this is how I create the majority of my animations right now.
Blender
Blender gives you better control over your animations, so you can create more advanced movements. It’s useful for character animation.
You set the number of frames for your whole animation, then places keyframes in your “frame” timeline. You can move your object around, rotate it or deform it. The tool will then create your animation based on the keyframes you set.
Finally, you’ll import your animation into your game engine in a .FBX file.
Intermediate
Maya, 3DS Max
As industry reference tools, Maya and Max offer fine controls for animation.
And there’s more advanced tools around, like MotionBuilder, you can use. But for now, Blender, Maya and 3DS Max will be enough for you to create great VR experiences.
One step at a time
VR design, like game design, brings together a lot of tools. How you apply these tools is key.
Because of the sense of presence you get in VR, entirely new experiences can be created. Simple elements put together are enough to create something special already.
On the flip side, VR brings its own challenges. Examples are motion sickness, text resolution, interfaces, intuitive gameplay and storytelling.
That’s why it’s important to stay focused. Learn the tools and apply them to VR straight away. Build a small experience. Have a specific project you can work on.
Focus your mastery on learning what you need for VR.
Take one step at a time, until you reach success. As Lao Tzu said: “A journey of a thousand miles begins with a single step”.
So, what’s your big goal? Are you going to create WoW in VR? Or something else?
Share your goals below.
Like What You've Read? Join My FREE Newsletter
I'll help you create your first VR experience and build a business around your passion
And when you join, you get a FREE guide: 8 Tools & Resources Every New VR Creator Needs, so you can start building your first product today
Follow Me
Recent Posts


Related Posts
Please share your comments